Event Participant Guide for Moderators
If you've been invited to be the moderator of an event on strmz.io, this page will show you what to expect, how to use the platform's features in the event, and how to ensure that everything runs seamlessly.
As a moderator, your role is to support the host(s), by silently providing event administration functions like Streaming, sharing screen, Chat administration and Hands Raised administration during the live stream.
To prepare your technology, lighting, and connectivity for the optimal streaming experience, please refer to our Preparing for Events page.
Step 1: Sign up
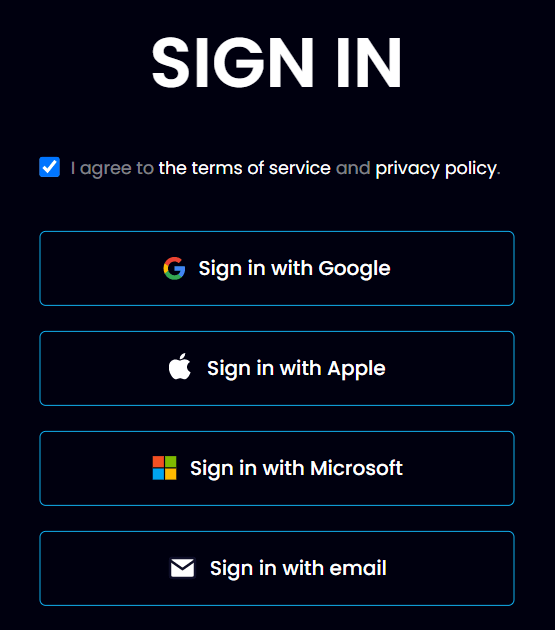
You received an email invitation to be a Moderator on strmz.io. In that email, a link is provided for you to sign up. If you have not signed up to strmz.io before, click on the link, which will take you to the strmz.io website. Then click on Sign up and follow the instructions to create your strmz.io account and validate your email address.
This is very important: when signing up with your email address, make sure that you use the same email address that you received the invitation email on. If you try to sign in from an account not associated with the nominated email address, strmz.io will not recognize you as a nominated Moderator and will not give you Moderator permissions. Instead, you will added to the event as an audience member.
Note: If your email address is hosted by Google, Apple or Microsoft, you can sign in using your existing account on that service.
For email addresses hosted by other providers, choose "Sign in with email", to create a new account for yourself on strmz.io.
Step 2: Rehearse for the Event
The creator of the event has invited you to be the moderator of a Live Event.
As the moderator of the event, you can use the link that was emailed to you to access the event's green room before the event begins. This allows you to familiarize yourself with the features of the platform and rehearse and prepare with your colleagues before the event begins.
We recommend you jump in half an hour before the event starts, so that you can familiarize yourself with all of our features, especially if you're a first-time user of the platform!
Note: Hosts and moderators are all able to both see and click on the Start/Pause Stream button. If you have multiple hosts and/or a moderator participating in the event, it is strongly recommended that, during the pre-event rehearsal, you all agree which of you will administer the Stream button.
Step 3: Stream!
When the time comes to start the event, if it was agreed, during the pre-event rehearsal that you are administering the
Stream
button, you should click on the
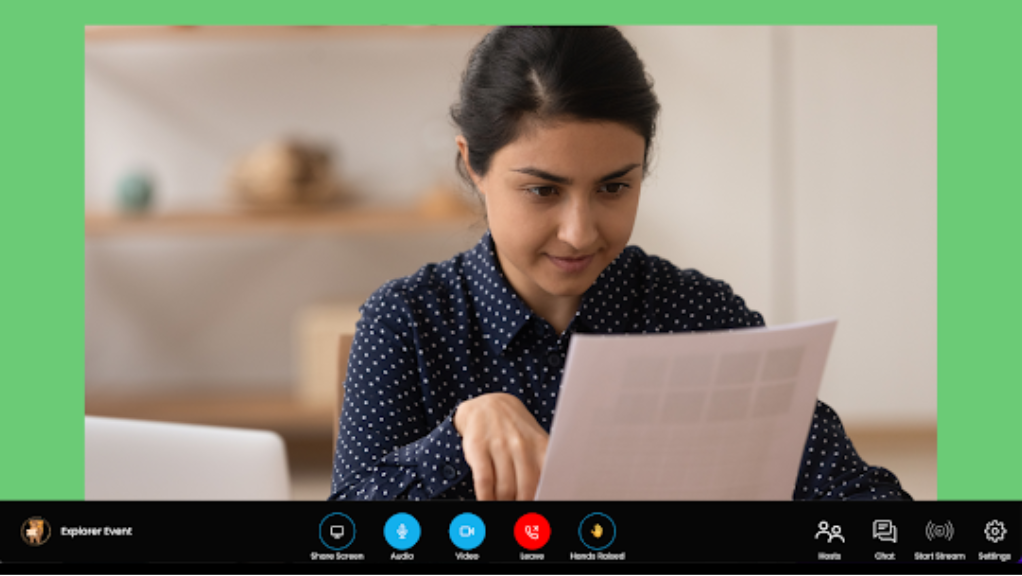
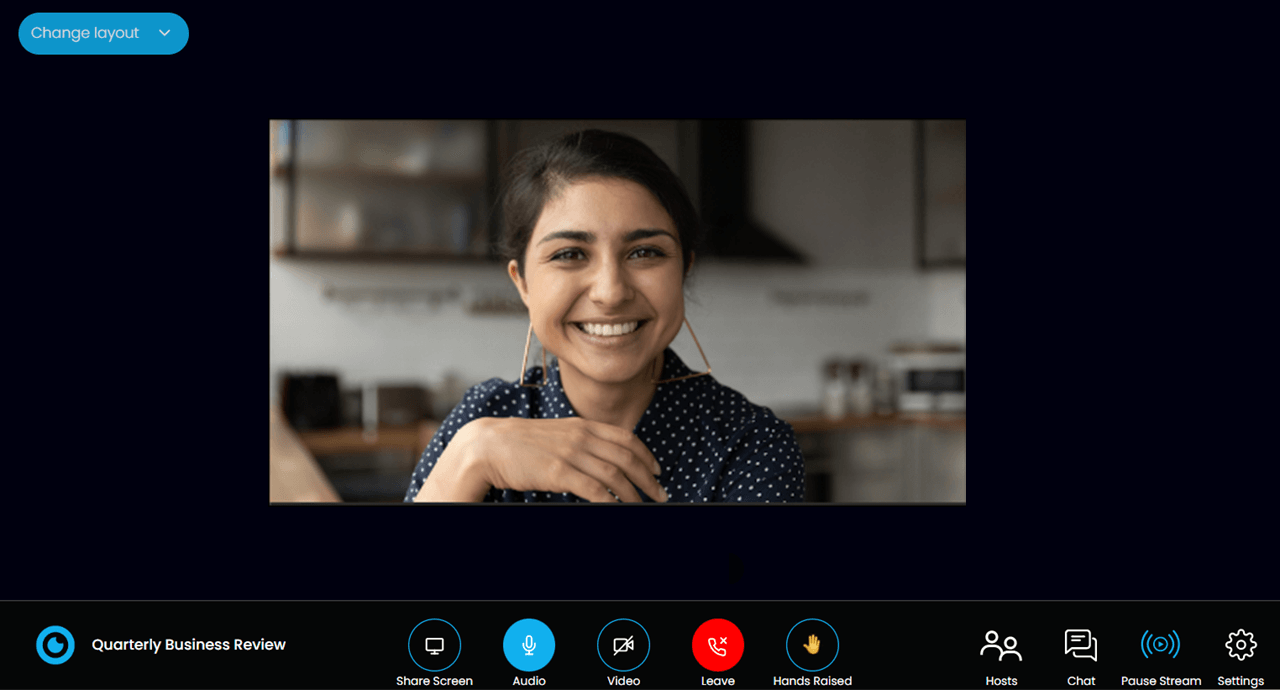
Start Stream button on the bottom right to initiate the live stream. When you click on it, the icon will turn blue and your background will change from green to black, so you'll know you're streaming.

Note: If recording is included in your organization's subscription, the event will be recorded automatically when streaming starts and you'll see a red Recording icon in the top right of your display.
Now the audience will be able see and hear the host(s) and guest speakers, as will you, but you won't be visible on video anymore.
You're also automatically muted when streaming starts. You can unmute yourself if you need to talk at any time while streaming.
If, for any reason, you need to pause streaming after having started streaming, you can do so by clicking on the Pause Stream button.
It will turn white and your background will change from black to green, to show you and your host and guest speaker colleagues that you are all now back in the green room, while your audience will all be returned to the Audience Lobby until you start streaming again.

Step 4: Interact with your audience!
There are a number of ways that you, as a moderator, can interact with the audience during the live stream:
- Interact with the broader audience via Instant Message with Chat and view all participants in the event via the Hosts button
- Share screen or play a video
- Administer audience requests to join the live stream via Hands Raised
- Delete any inappropriate Chat messages
- Ban any participant or audience member from the event.
Each of these features is described in more detail below.

Chat & Sentiment
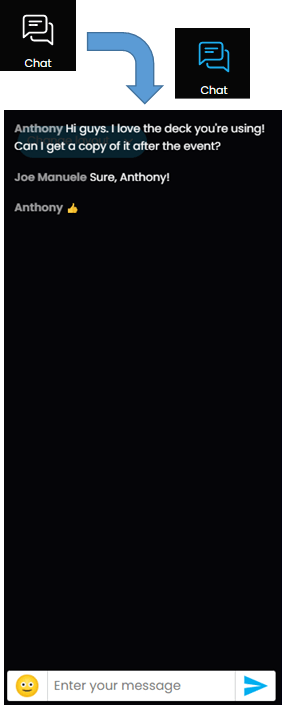
Clicking on the Chat button will allow you to view questions, comments and conversations that all event participants are having via Chat. You may also add your own comments, answer questions etc. When you add an IM, it will simply be identified as being from Moderator, i.e. your name will not be visible.
Next to the 'Enter your message' box is an emoji pop-up submenu that allows you to add dynamic emojis to the chat. Viewers can also express their current sentiments to all event attendees by selecting a relevant dynamic emoji. When they do this, all event participants will see that emoji float up their screens, which makes it a really good way for the host and guest speakers to understand how the audience is responding to the live stream and, if necessary, adapt accordingly!
To close down the Chat window, just click on the Chat button again.
Hosts
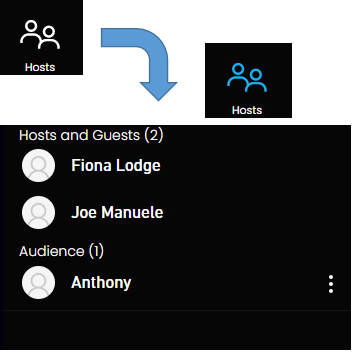
Clicking on the Hosts button will allow you to view an up-to-date roster of all stream participants and audience members.
To close down the Hosts window, just click on the Hosts button again.
Note: As a moderator, you are hidden from the audience, so no-one, including you, will be able to see you in the list of Hosts and Guests
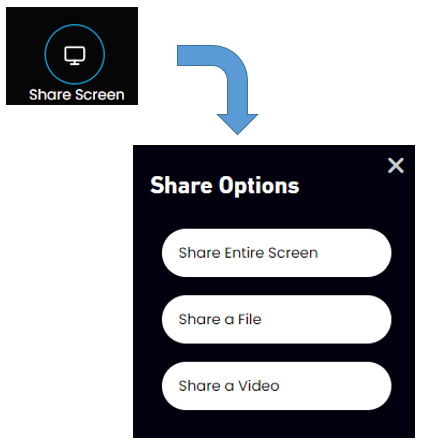
Share screen or play a video
If streaming from a computer on a web browser, you'll have the option to share your screen in one of three ways:
- Share Entire Screen, where everything visible to you on your screen will be visible to your guests and viewers. You can alternatively choose to only have a specific window or Chrome browser tab visible to your audience.
- Share a File will allow you to browse your computer for a specific video or PDF file. If your PDF file has multiple pages, you can scroll through them like a slideshow to present to your audience.
- Share a video will allow you to paste a video link to share live with your viewers. This could, for example, be a Youtube link or a link to a corporate video your team prepared for the event.
To stop sharing your screen, just click on the
Share Screen button again.
Note: Ensuring the Right Window is Shared
When sharing either your entire screen, or a specific window, make sure to first click the screen that you want to share, then you can hit the share button, and your screen share will begin.
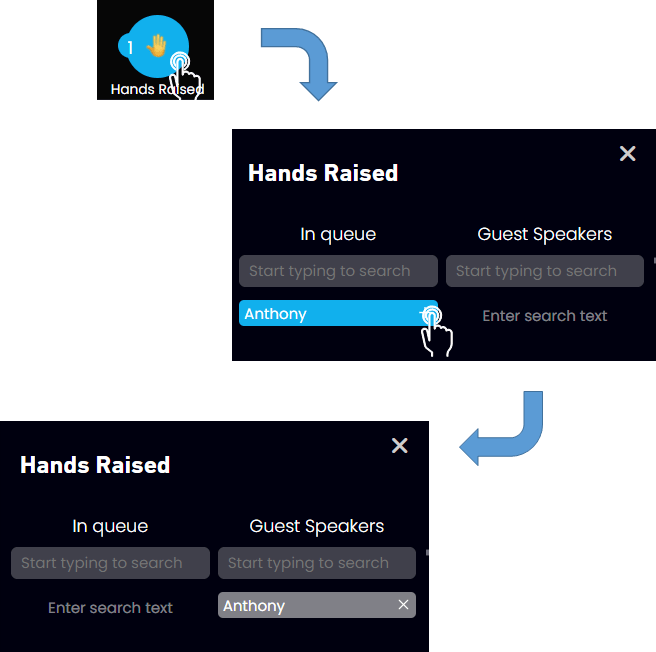
Administer Hands Raised
If someone in the audience has Raised their Hand, it will be shown as an update to your Hands Raised icon.
Clicking on Hands Raised will open up a pop-up window that will show you two lists.
- In queue is the list of audience attendees who are currently requesting to join the live stream. You can add them directly from the audience into the stream as a guest attendee by clicking their name.
- Guest Speakers is the list of guest attendees who are currently participating in the live stream. You can return them back to the audience by clicking the 'x' symbol beside their name.
Currently, you can allow up to 24 participants into the live stream at a time. However, for an optimal viewer experience for your audience, we recommend that you never have more than 6 people on video at any given time.
To close the Hands Raised window, just click on the Hands Raised button again.
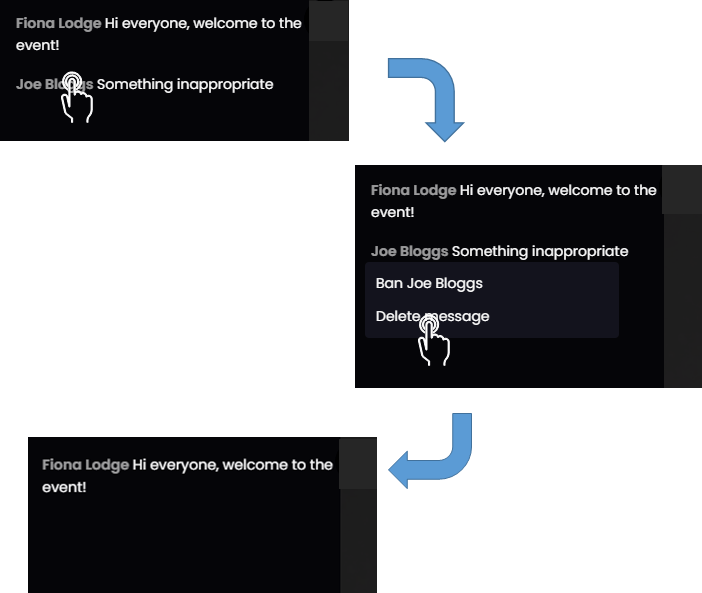
Delete a Chat message
Scroll to the chat message you want to delete.
Click on the username associated with the chat.
A pop-up will appear, giving you the option to delete the chat message or to Ban that user. If you choose to delete the chat message, it will be deleted from all participant and viewer's chat history.
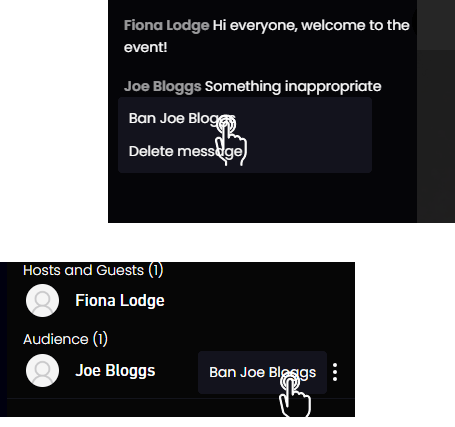
Ejecting Guests or Audience Members
There are two ways to Ban users from the event.
- If, for example, they are posting inappropriate chat messages, you can select one of those chat messages, click on the username and Ban that user.
- On the other hand, a user may not be chatting, but you decide that they should not be in the event, e.g. for confidentiality reasons. In that case, simply navigate to the participant list by clicking on the Hosts button. Then scroll to the name of the participant you want to remove, click on the 3 dots to the right of their name and select to Ban them.
When you
Ban
a user, they will be immediately removed from the event and will not be able to re-join using the same credentials. Further, all Chat messages posted by that user will automatically be deleted when you ban them.
Note: A moderator may ban audience members and Guest Speakers, but cannot ban any Hosts.
Step 5: Leave the Event
To leave the event, simply click on the
Leave
button and then confirm by clicking
Exit Stream.
Note: The Host(s) control when the event itself ends. If you have not chosen to Leave before the event ends, you will be exited automatically when the Host ends the event.

Dealing with network issues during an event
Ideally, when moderating an event, you will be using a reliable, high bandwidth internet connection.
However, sometimes life just doesn't go smoothly, so you may find yourself using a poor quality network connection.
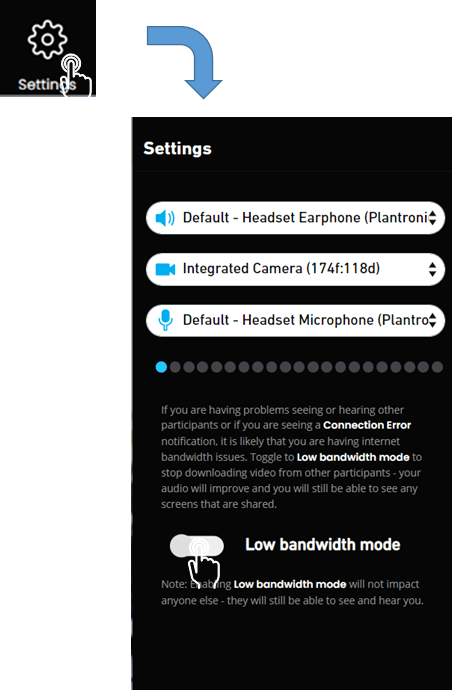
- If everyone can hear you just fine, but you're having problems seeing or hearing others, then the upload speeds on your internet connection are probably fine, but your download speeds are poor. In this case, as a moderator, it can be difficult for you to effectively moderate the event. So, to improve the situation, you should enable Low Bandwidth Mode in your event settings. In Low Bandwidth Mode, the video of your colleagues in the event will be suppressed in the cloud, so only their audio and screensharing will reach you - this significantly lowers the download bandwidth burden on your network connection. You can still send good quality audio and screensharing upload to your guests and audience. No-one will even notice that you're in Low Bandwidth Mode!
- If you're on a flaky network connection, don't worry - the strmz.io platform is architected for full resiliency, so will minimize any impacts of a flaky network on you, your guests and your audience.
- If you experience a full network outage during an event and you drop out of the event, just stay calm and rejoin. :) The event will continue seamlessly and will connect you back in when you rejoin.